Upload to Blob Timeout Azure Storage Explorer
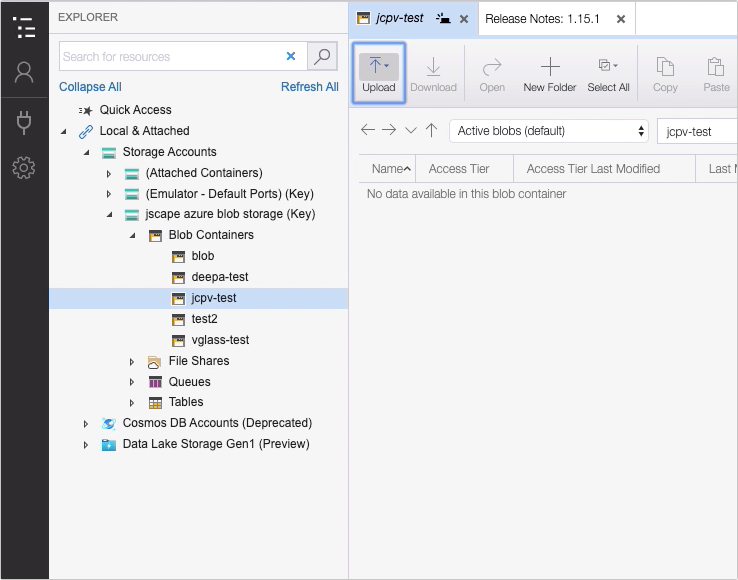
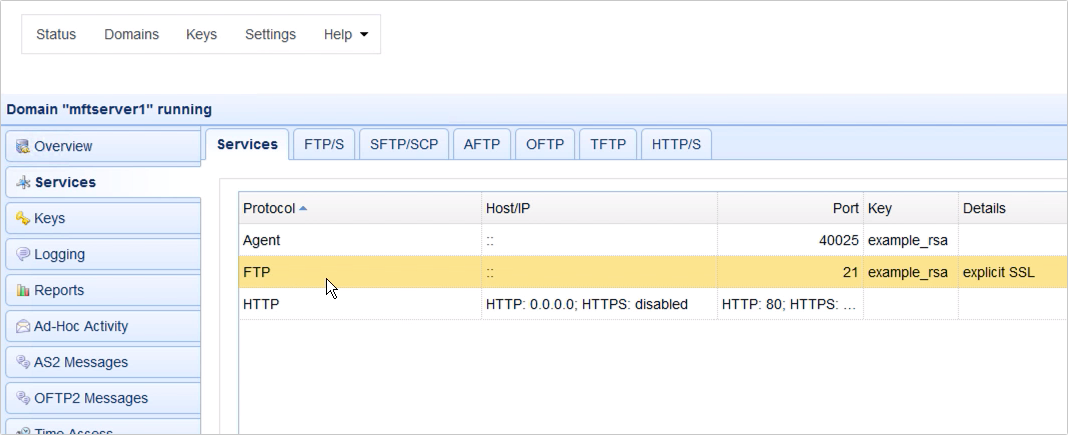
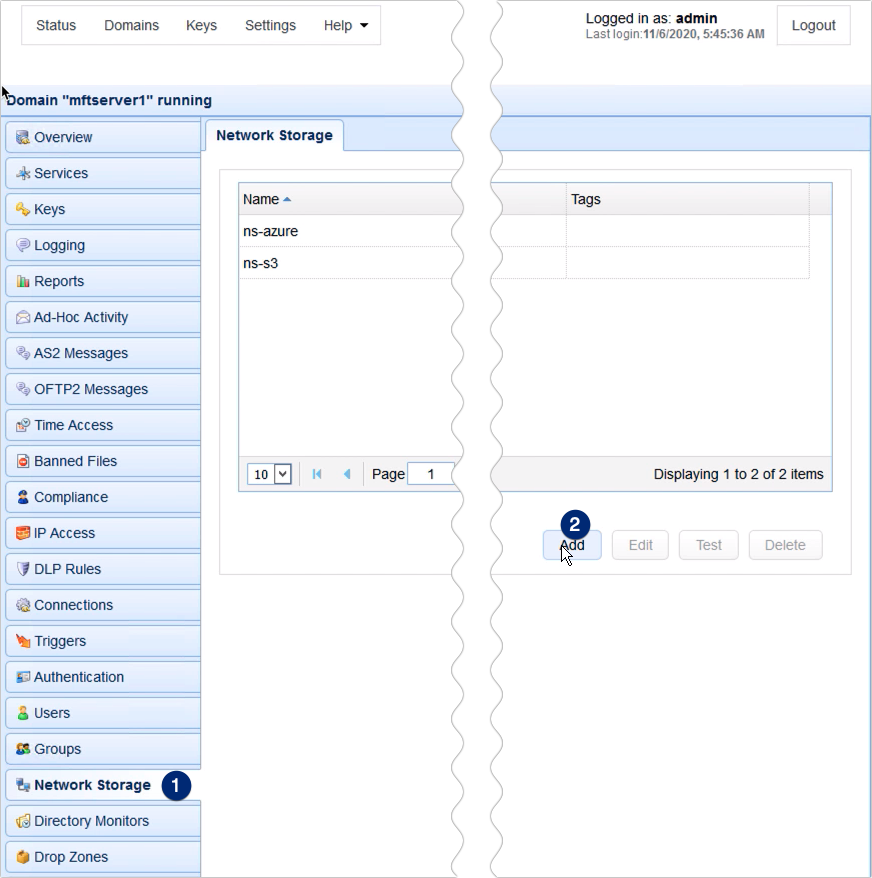
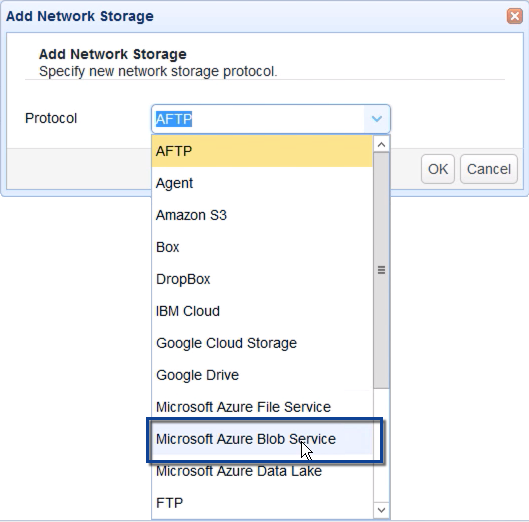
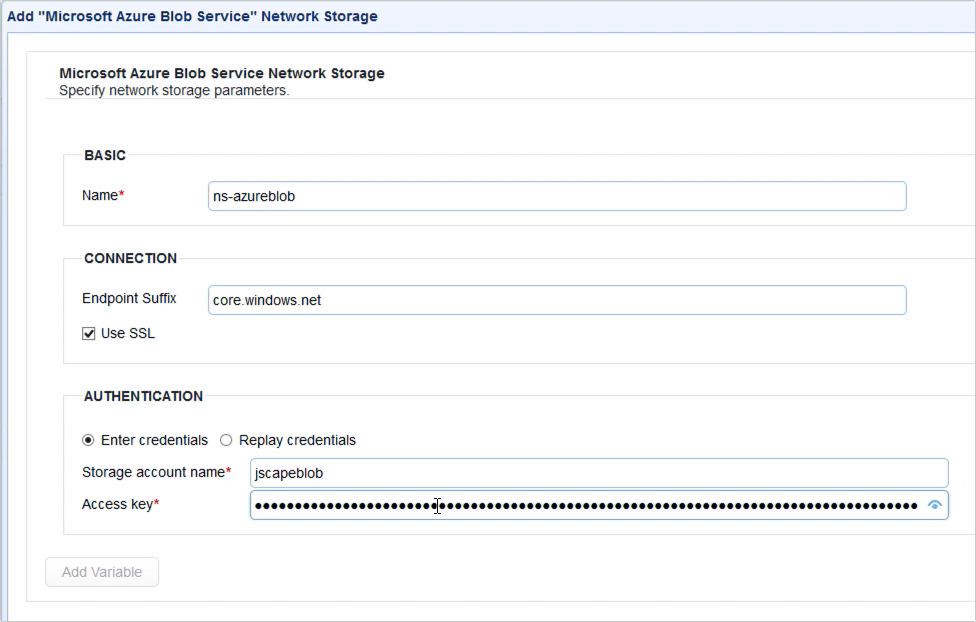
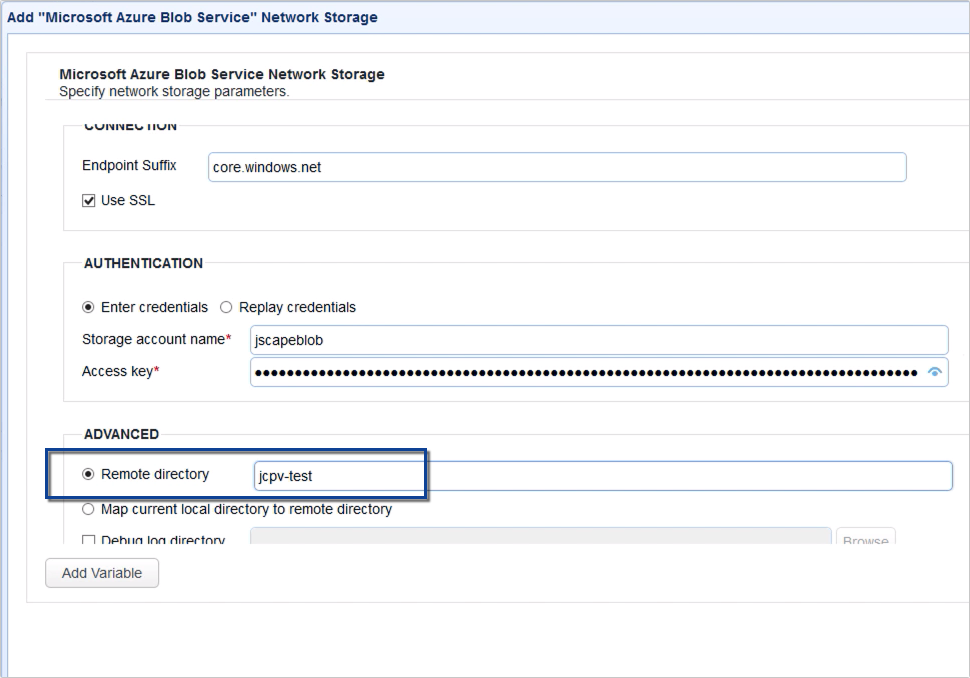
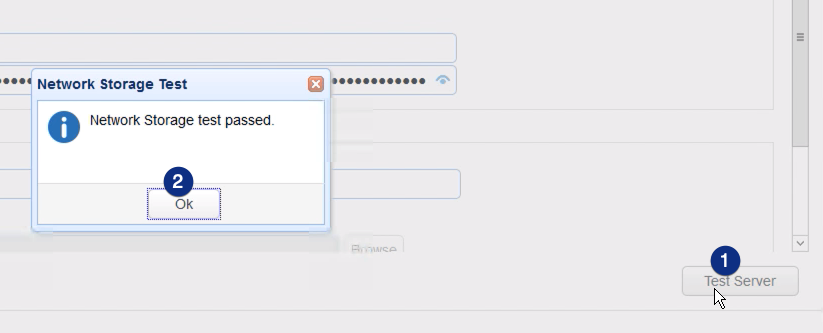
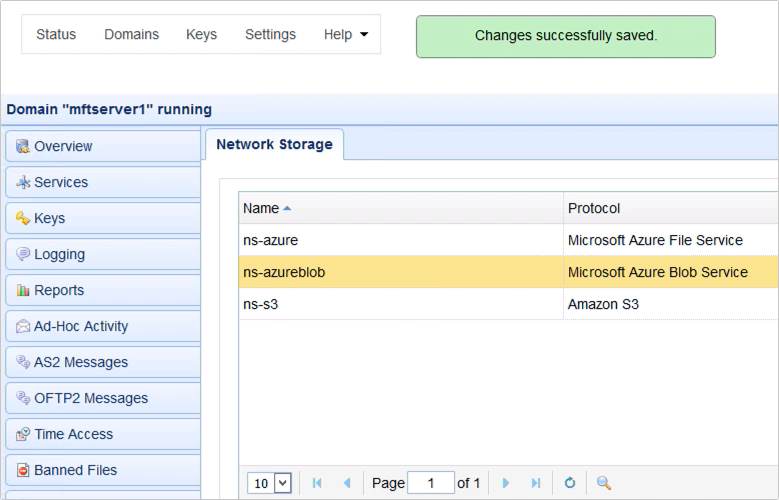
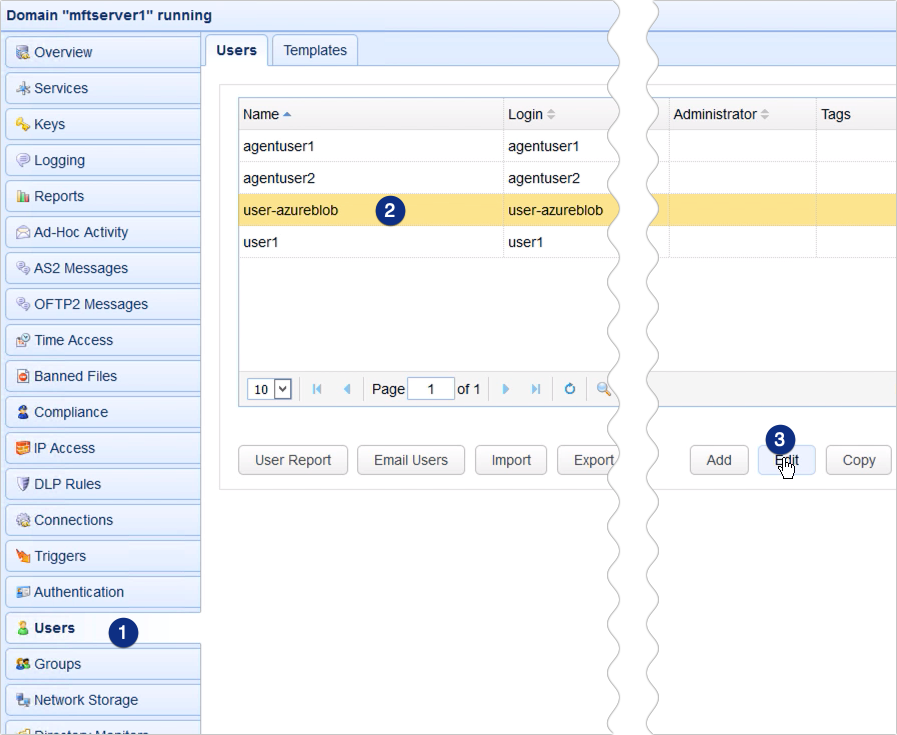
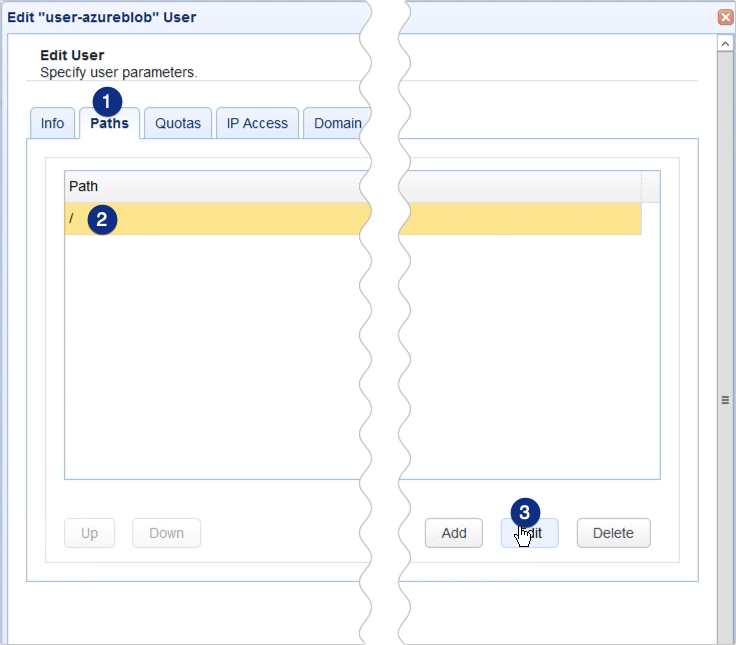
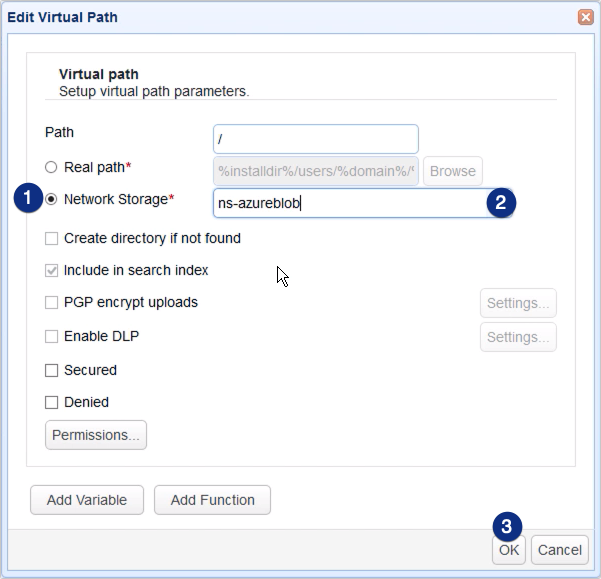
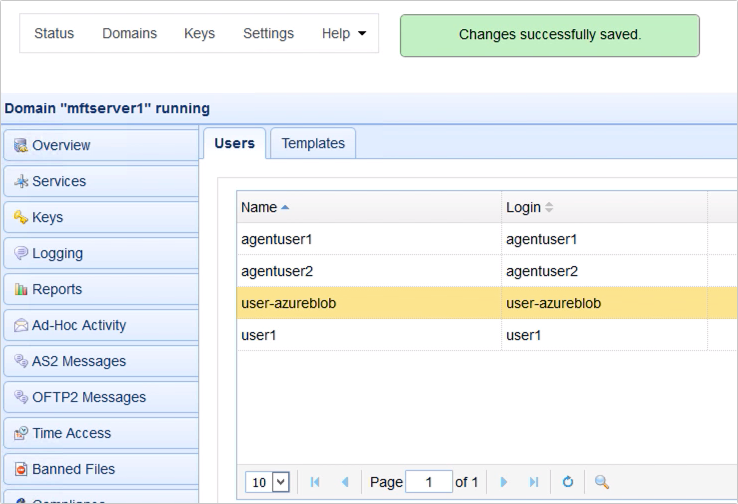
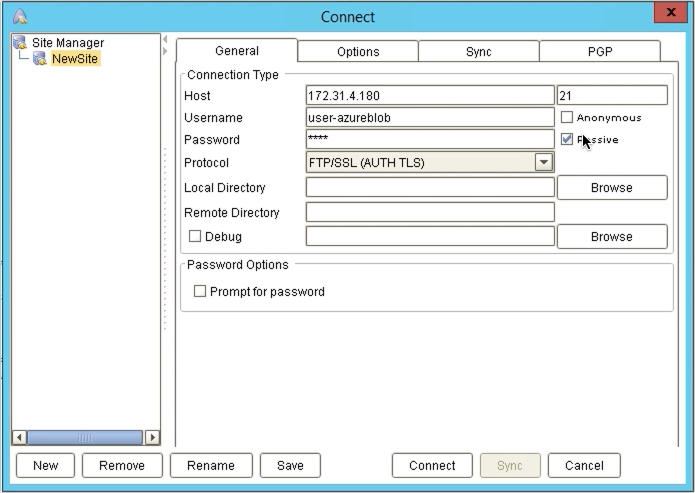
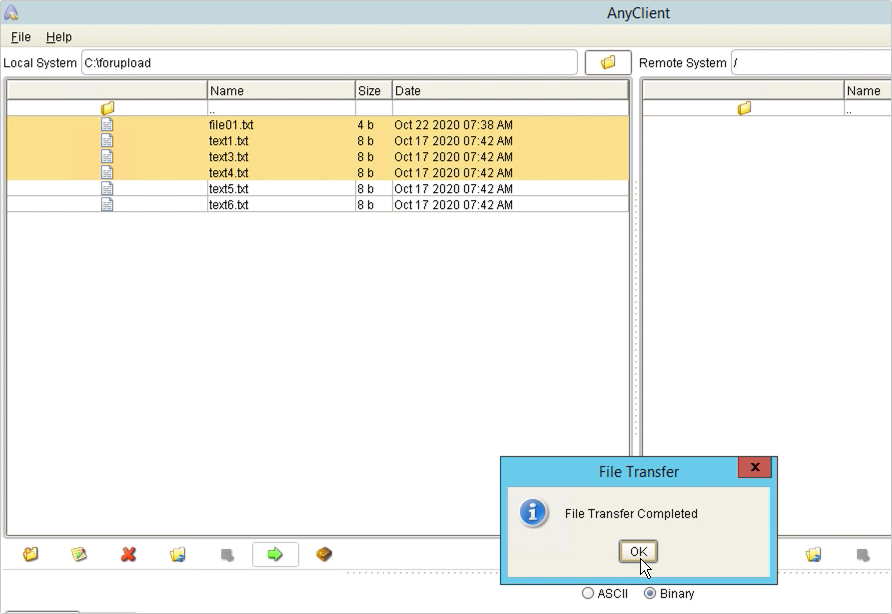
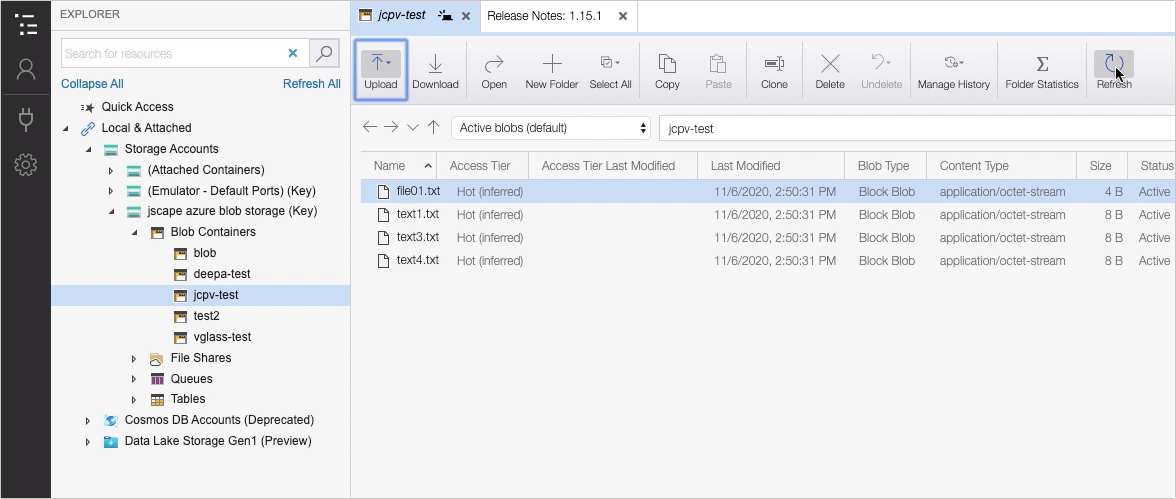
A lot of automated business processes out in that location employ FTP or FTPS to upload information to a server. What if virtually of it is unstructured information similar videos, images, and audio files, and, instead of an FTP/Southward server, you lot would like Azure Blob Storage equally the final destination for all that uploaded data. That should be fairly easy if your FTP/Due south service is running on JSCAPE MFT Server. We'll show you lot how to prepare MFT Server for that detail purpose in this post. Would you adopt to sentinel a video version of this tutorial instead? You can play the video below. Otherwise, only skip it if you wish to go on reading. Ok, I'm here on Microsoft Azure Storage Explorer, where y'all tin can see a couple of blob containers on the left side of the screen. The container I'm going to use in this tutorial is the ane named 'jcpv-test'. Notice that in that location is currently no data in this blob container. Now, earlier I keep, you lot might inquire — doesn't Azure Storage Explorer have a fashion of uploading files directly to Azure Blob Storage? Yes, information technology certainly does. Y'all can fifty-fifty see an Upload button on the screen. Just call back, we're mainly concerned with automatic uploads hither. Then, you probably already accept a bunch of FTP/Southward clients that use some automatic machinery (a script perhaps) to upload files to an FTP server. Azure Storage Explorer isn't suitable for workflows similar that. Now that nosotros accept that out of the fashion, allow'due south keep to my JSCAPE MFT Server instance. Detect that I already have an FTPS service ready to accept files from FTP clients. The adjacent thing I demand to do is add an Azure Blob network storage object. To do that, I merely get to the Network Storage module and then click the Add button. When the Add together Network Storage dialog appears, I simply expand the Protocol drop-down list and select 'Microsoft Azure Hulk Service' so click OK. That should bring up the parameters dialog for this network storage object. Allow'south proceed by giving this network storage object a proper noun, say, 'ns-azureblob'. Depending on how your target hulk container is gear up, you might need to tick the Use SSL checkbox. After that, proceed to the Authentication section and so enter your Storage business relationship name and its corresponding Admission central. Next, scroll down to the Advanced tab and then enter the proper name of your blob container in the Remote directory field. In my case, I need to enter 'jcpv-test'. If you lot desire, you can exam the connection by clicking on the Test Server button. If the test passed, you lot may and then click the OK button to finalize the network storage creation process. One time you become back to the main screen, yous should see your newly created Azure Blob Storage network storage object among your list of network storage objects. Nosotros're not yet done here. We notwithstanding need to create a user's virtual path or just edit an existing virtual path and accept that path point to the network storage object nosotros just created. To do that, just go to the Users module, select an existing user account (in my example, that would be 'user-azureblob') and and so click Edit. Navigate to the Paths tab and so either create a new virtual path or edit an existing path. In my example, what I desire is, when a client logs in using this user account, information technology shouldn't accept to navigate into any other directory anymore. I want that client to simply upload any files it wishes to upload straight into the virtual path it sees upon login. That path is normally the root path of the account. And then, I'll just select the root path, marked by the forwards slash (/) here, and then click Edit. Next, in the virtual path parameters dialog, I click the Network Storage selection and then select the name of the Azure Blob Storage network storage object from the drop-down list. So, in upshot, any upload made on this root virtual path volition actually be uploaded to my 'jcpv-test' Azure hulk container. Click Ok to go on. We've got everything set up, then let's give this a examination run. I'm now in a file transfer client, where I've entered all the pertinent details for connecting to my FTP service on my JSCAPE MFT Server instance. As y'all might have guessed, 172.31.4.180 is the IP address of my JSCAPE MFT Server example. 21 is of course the default port number for FTP, which, as you probably noticed before, besides happens to be the port number I'yard using on my FTP service. Lastly, if you recall, 'user-azureblob' is the username of the account whose virtual root path I edited earlier. Upon connecting, I should meet the blob container on the correct hand side. Remember that it didn't take annihilation inside it so the right side is empty. I've now uploaded a couple of files (file01.txt, text1.txt, text3.txt, and text4.txt) to it. ... and if I double-check in my Azure Storage Explorer, sure enough, I see those same files in the hulk container 'jcpv-test'. That's it. Now you know how to upload files to Azure Blob Storage via FTP/S. Would yous like to endeavor this out yourself? Download the Complimentary, fully-functional Starter Edition of JSCAPE MFT Server now. Lookout man the video
Endeavour this out

Topics: JSCAPE MFT Server, Managed File Transfer, Deject Computing, Tutorials
Source: https://www.jscape.com/blog/how-to-upload-files-to-azure-blob-storage-via-ftp/s
0 Response to "Upload to Blob Timeout Azure Storage Explorer"
Post a Comment